No products in the cart.
Stories
Guide to shoot in RAW with mobile
29
Oct
Oct
Taking photographs in Raw format may sound intimidating at first, but it’s not something you should be scared of. Instead, you should be excited about it!
If you like taking photos and editing them, then shooting in Raw is the way to go. And these days, you can take Raw images with your phone, which is really cool and gives you way more creative freedom when you edit your photo.
So what is a RAW file?
A RAW file is uncompressed, unprocessed and undeveloped data recorded from the camera’s image sensor. It has much more information than a regular JPEG file. The greater amount of image data makes for larger file sizes, and because that data is unedited, post-processing is required. A RAW file preserves all of the information from cameras, such as sharpness and contrast, without processing and compressing. The RAW file is named as DNG (Digital Negative).
What is a JPEG file?
A JPEG file is a commonly-used image file format, which will be processed and compressed by the device it’s been captured on according to the settings made by the user before archiving. It is a very popular image format and can be opened in most computers and smartphones. You can freely set the compression level to preserve the quality for their JPEG files for example high or low quality. It’s easy to use and saves a lot of memory space.
Which one should you use?
With newer smartphones, you now have the option of shooting RAW images instead of the normal JPEG. But when to use which one you might be asking?
You don’t need to shoot in Raw if you’re just going to upload your photo straight away to Facebook or Instagram without editing it or when just adding a quick filter on it. A JPEG will be just fine. But when shooting in low light like at sunrise, sunset or even in the night, switching to RAW is a very good idea.
A good rule of thumb is that if you know before taking the photo that you’re going to want to properly edit the photo or you might print it later, shoot it in RAW.
How to take RAW photos on your smartphone?
Nowadays, you can take RAW photos on almost all the newer smartphone models. All iPhones from 6S, Android phones since Lollipop, Google Pixel phones and many others support RAW files, so only on really old smartphones, you might not be able to shoot RAW.
RAW Photos on Android
To shoot in RAW on your Android phone, it needs to support an Android operating system called the Camera2 API. This must be implemented by the device’s manufacturer and cannot be added via an app. So if your phone doesn’t support it, then RAW shooting is not available.
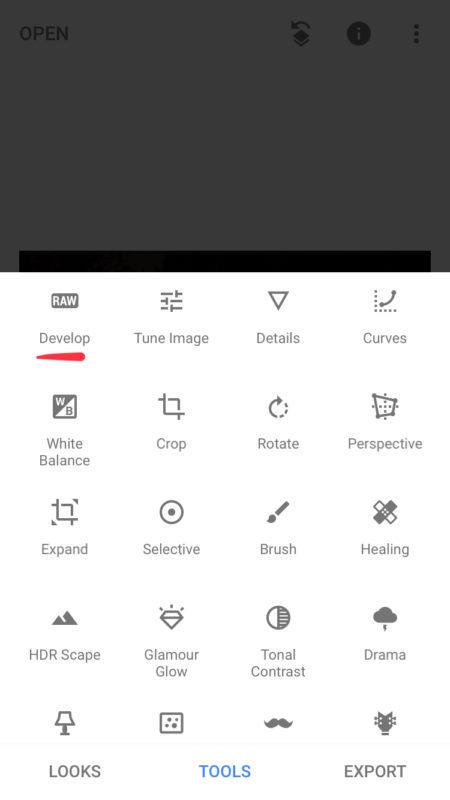
Now you have to open your camera app and go to settings. Search for the option to change the output file format. Change from .jpeg to .raw (.dng). You might have to switch to manual/pro mode to change this setting.
If this is not possible, then you have to use a third-party app.
RAW photos on iPhone
Unfortunately, the default camera app on the iPhone doesn’t support capturing RAW images. But don’t worry, it’s still possible. You might have guessed it already. You need to use a third-party app.
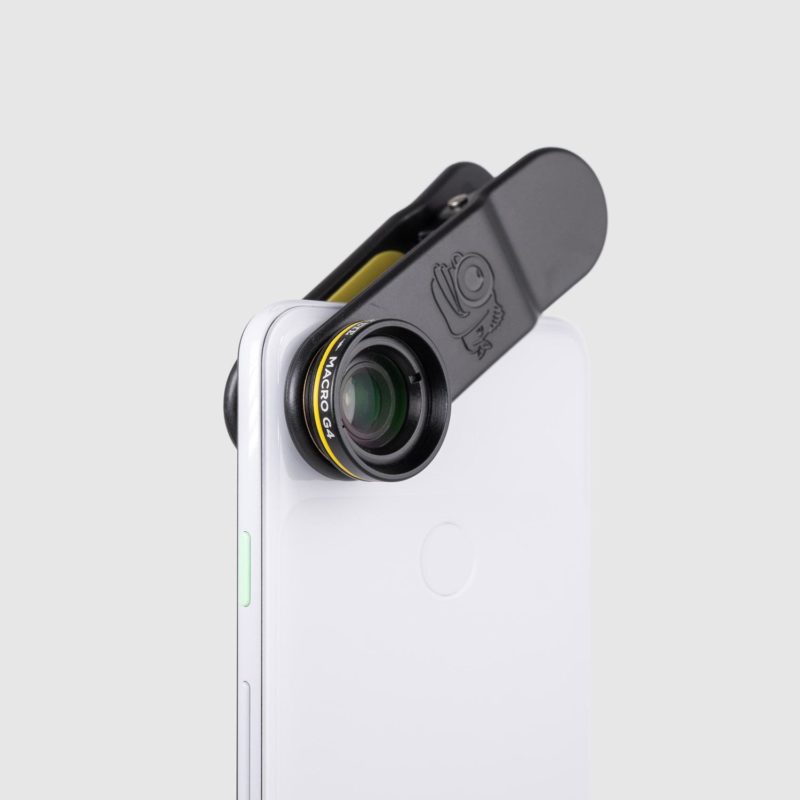
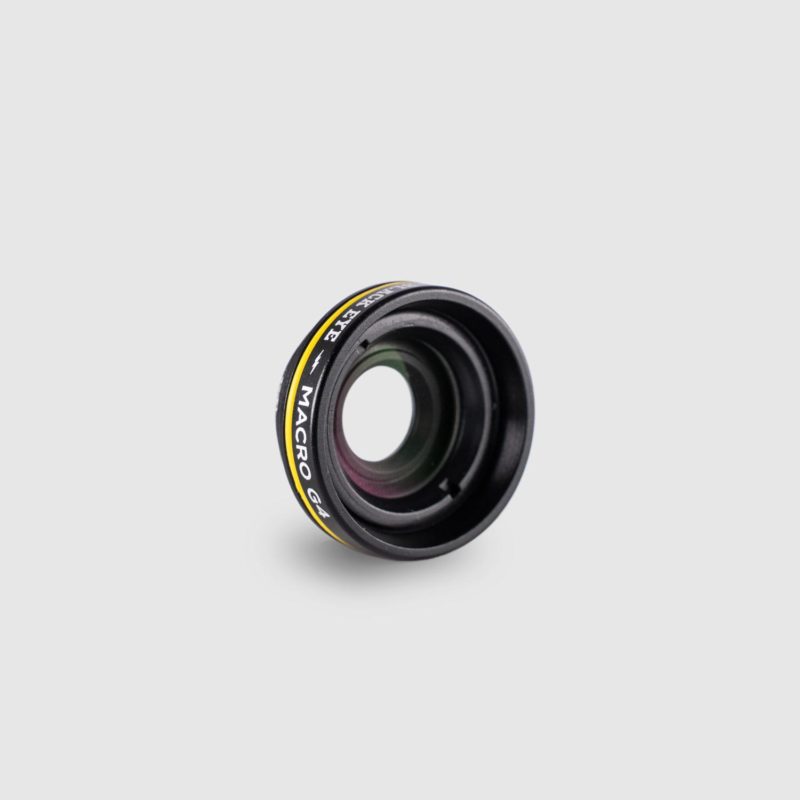
Shoow RAW with the Macro G4 lens
You can only shoot RAW with the main camera
Yes, this is a bummer for those who own a triple-camera smartphone. But, luckily we got you sorted!
Let’s take the new iPhone 11 Pro with its three lenses as an example. You can shoot RAW with the main wide camera, but not with the new Ultra-wide or the telephoto lens.
That’s where our attachable lenses come and save the day!
You only need the main wide camera of the iPhone 11 Pro which supports RAW and then you can use any of our wide or super-wide lenses to replace the lost Ultra-wide. And our Pro Portrait Tele G4 will replace the telephoto lens of the iPhone. We also have an awesome Macro lens which you can use on the main wide camera to get cool macro shots in RAW.
Now you can shoot Wide, Ultra-wide, Tele and also Macro in RAW.
Third-party Camera apps that support RAW
- Adobe Lightroom (free)
- ProCamera (7,99€)
- RAW+ (free + 4,99€ unlimited shots)
- VSCO (free)
- Halide Camera (5,99€)
- Pro Cam 7 (5,99€)
- ProShot (1,99€)
Editing RAW Photos
After you’ve taken the RAW photo, you need to edit it and export it as a JPEG file to be able to upload it to Social media. It’s also possible to choose from the settings RAW + JPEG, and then you can edit the RAW later if needed.
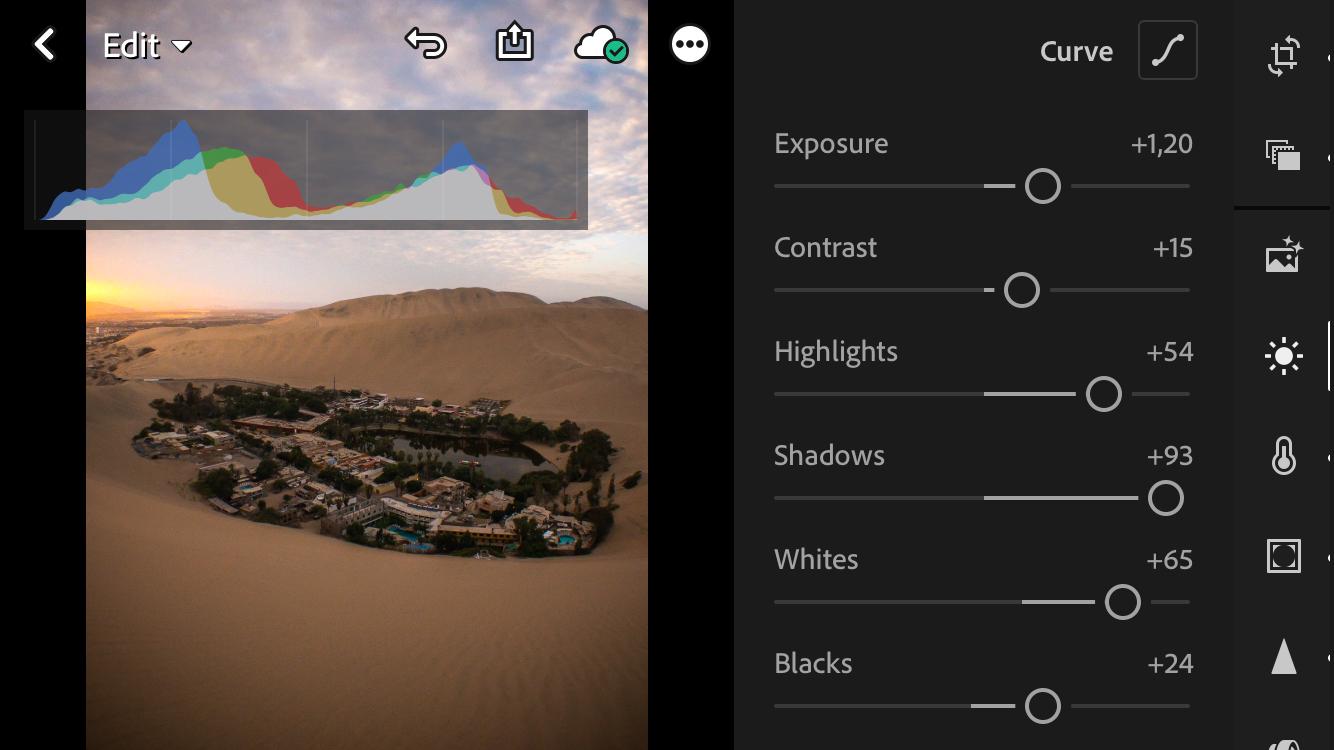
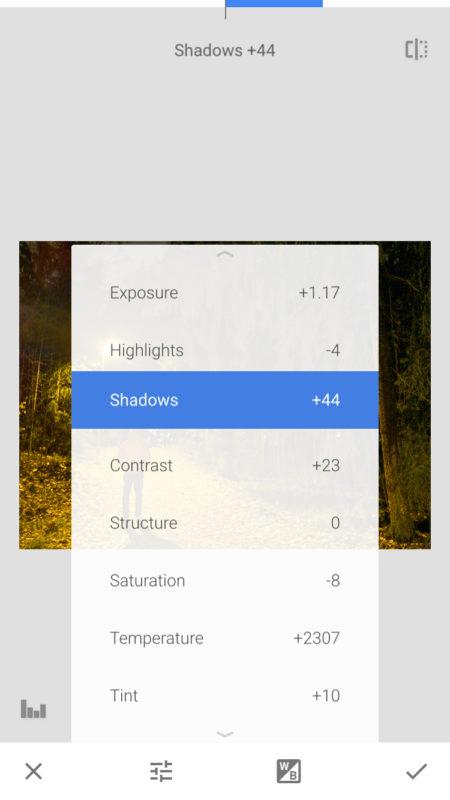
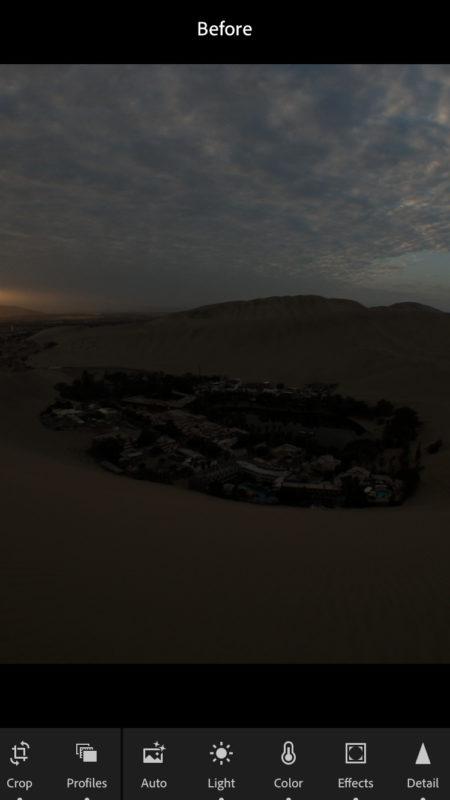
RAW photos come out looking ‘flat,’ as they are designed to give you maximum editing freedom instead of looking perfect and vibrant right out of the camera.
You can edit the RAW files straight away on your phone, or then if you have photo editing software on your computer, you can do it there on a bigger screen.
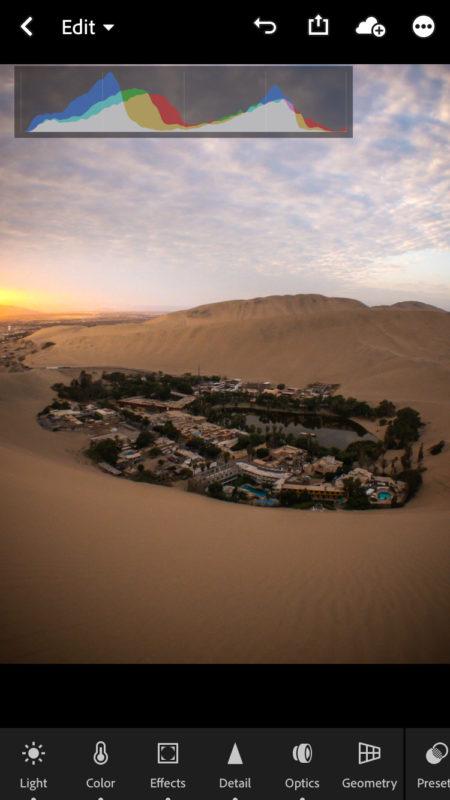
The editing part is pretty straight forward, and you can edit the photo as you like. That’s when the RAW file shines, and you can definitely see a difference if compared to a regular JPEG file. You can push the limits in whites and darks, recover shadows and highlights that are really dark or bright. Just remember that even a RAW data can’t save a pitch-black photo or burned highlights. So pay attention when you take the picture.
After the edit, just export it as a JPEG with your preferred settings, and you’re done!
Free apps for editing RAW photos on your smartphone